Back to Gallery
Fursona Art
Attribution note: art is by myself unless stated otherwise.
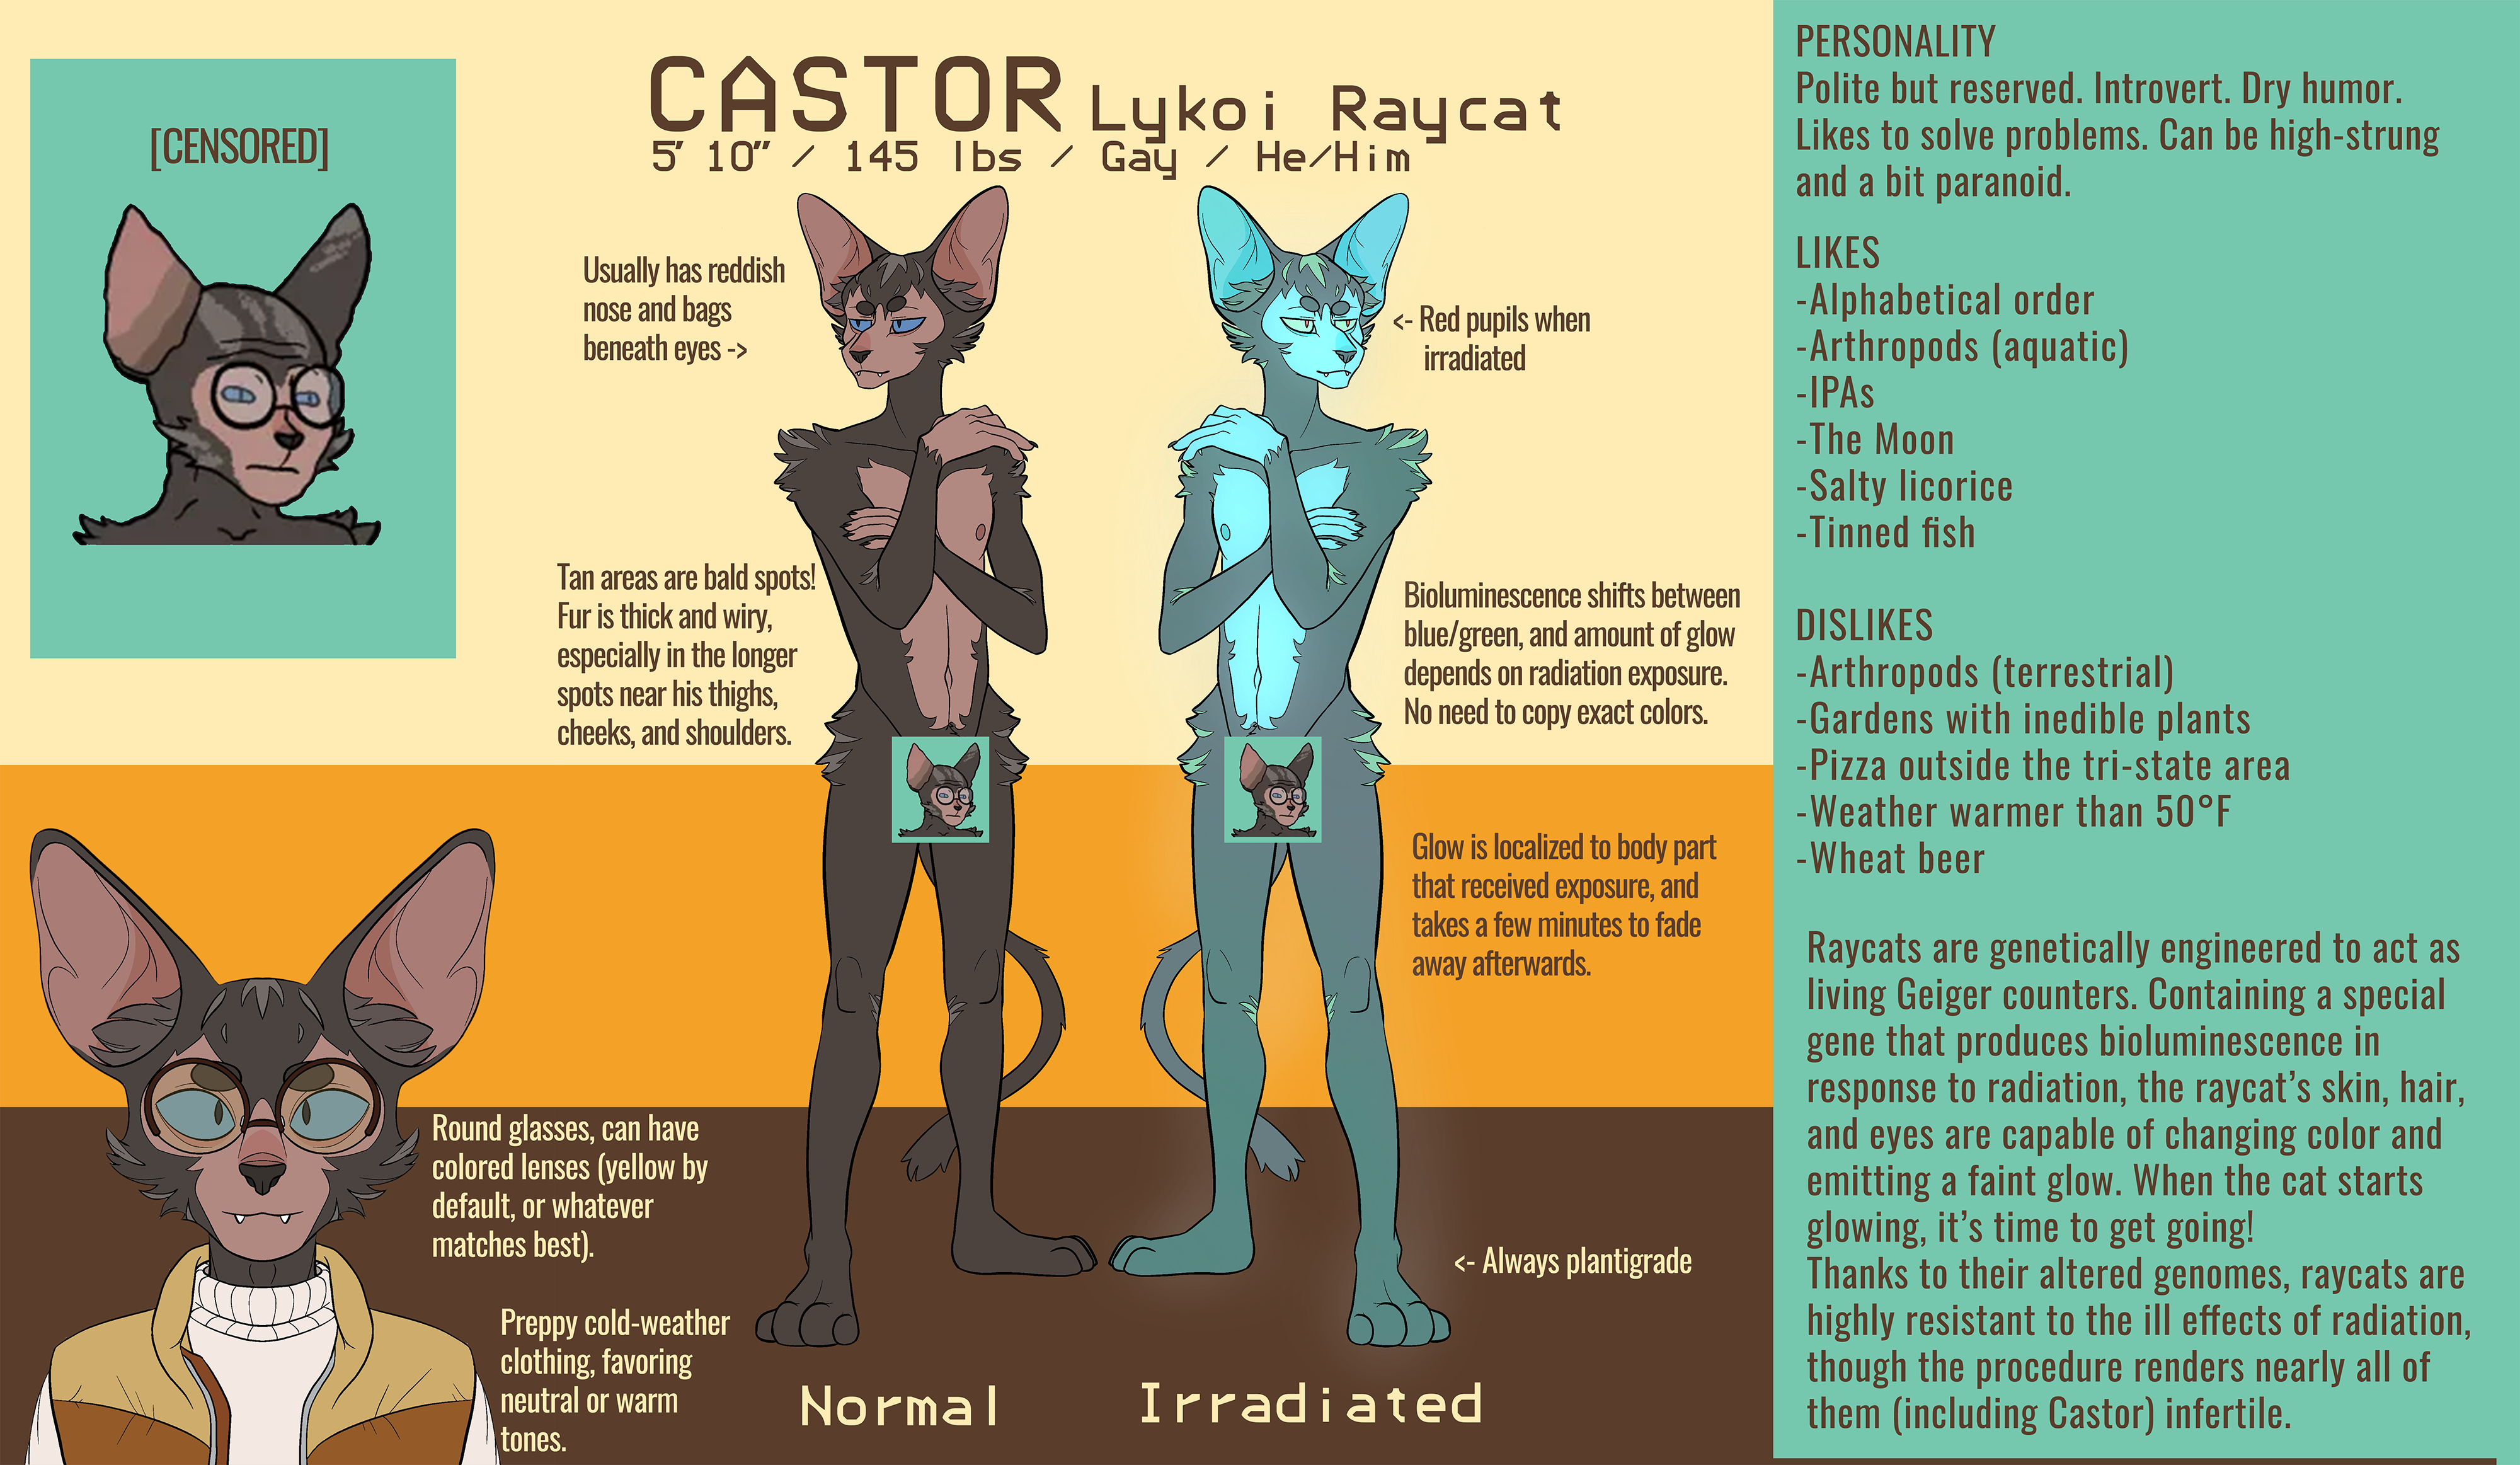
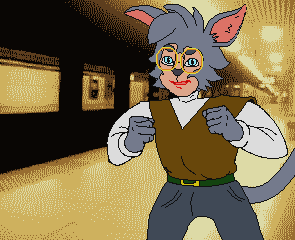
Castor reference sheet.
Art by
Khitibo
.
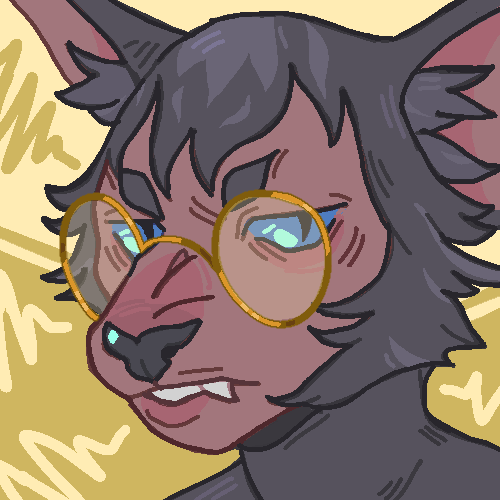
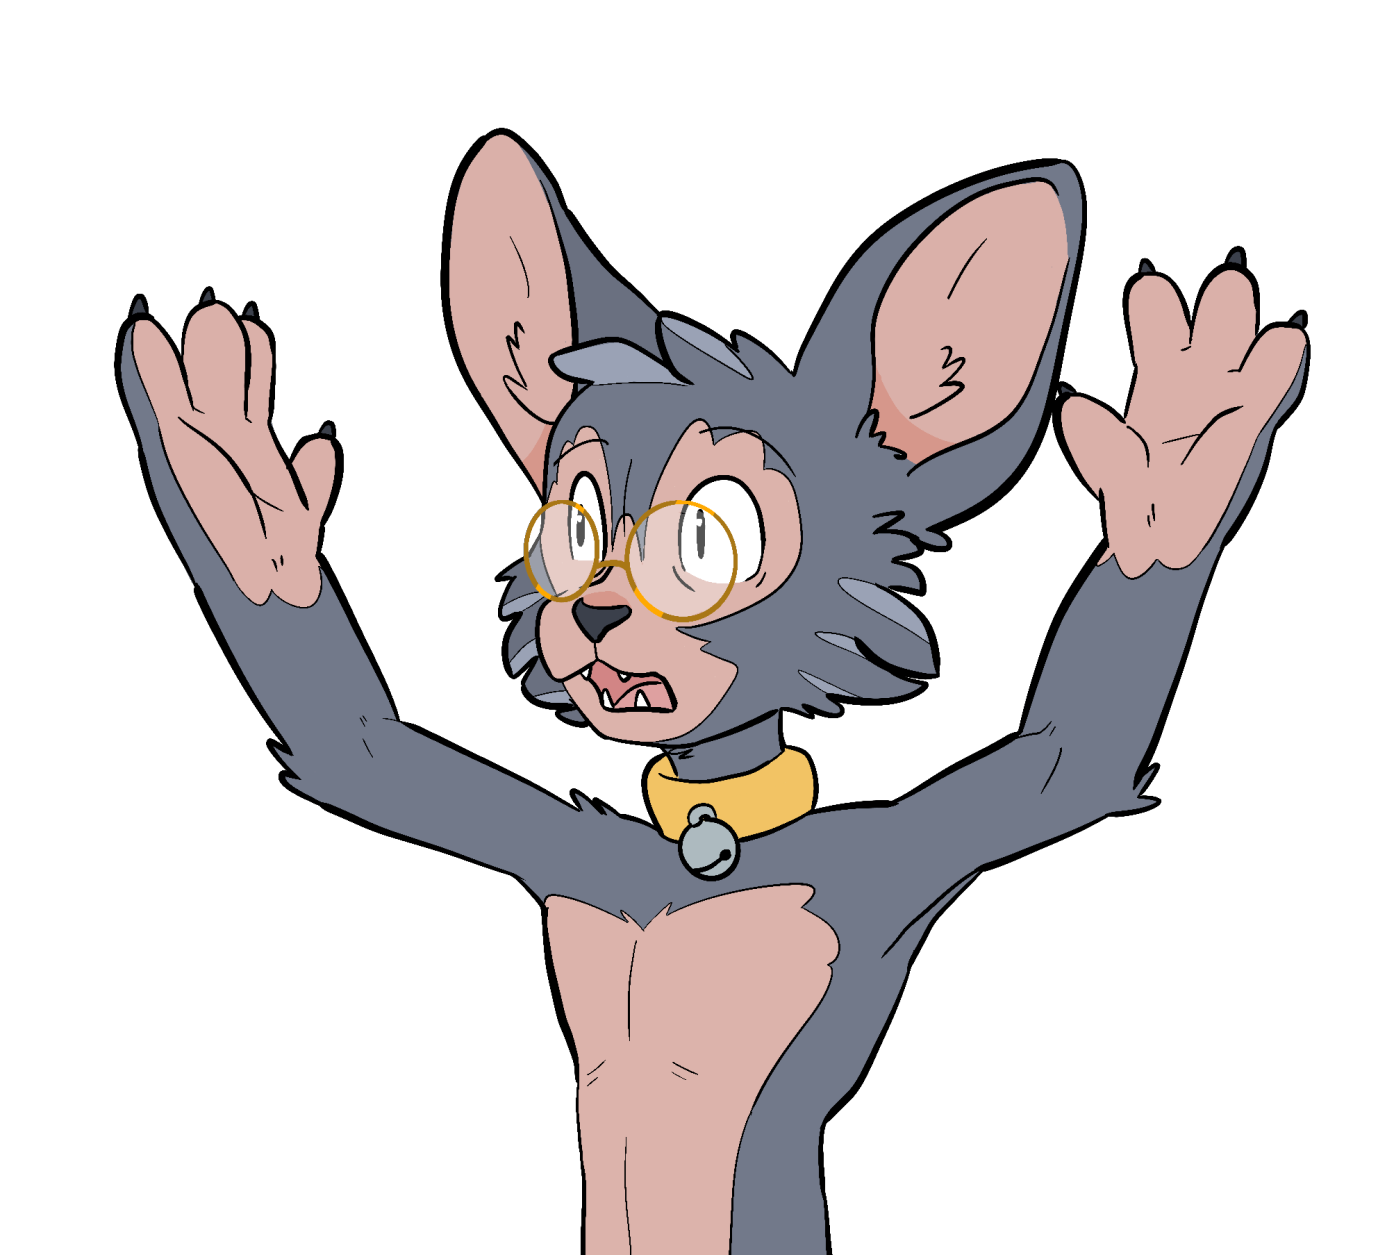
Art by
Lupin!
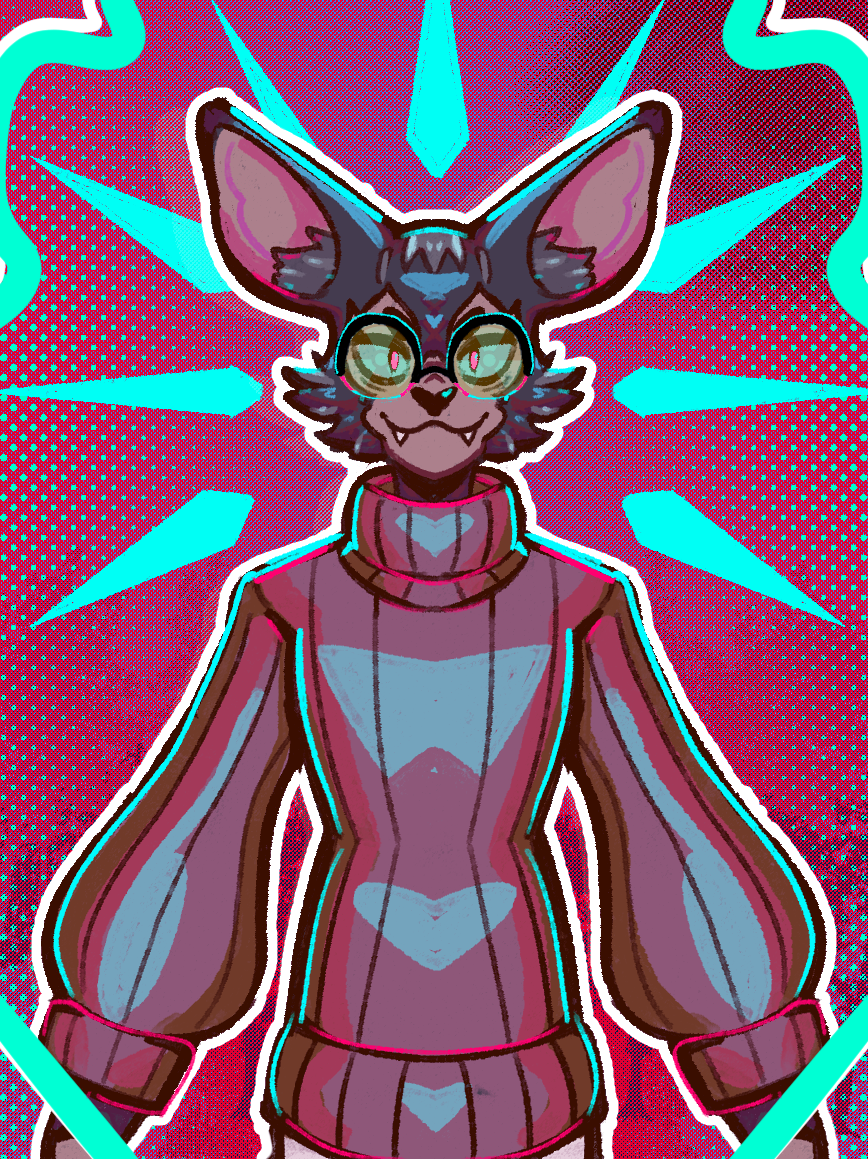
Castorian propaganda, also by
Lupin!
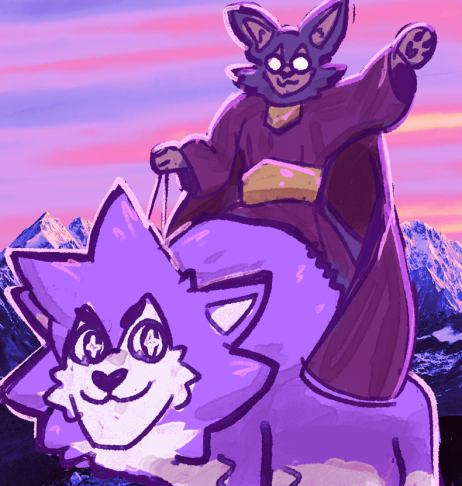
It sure is boring around here! By
PureIceBlue
.
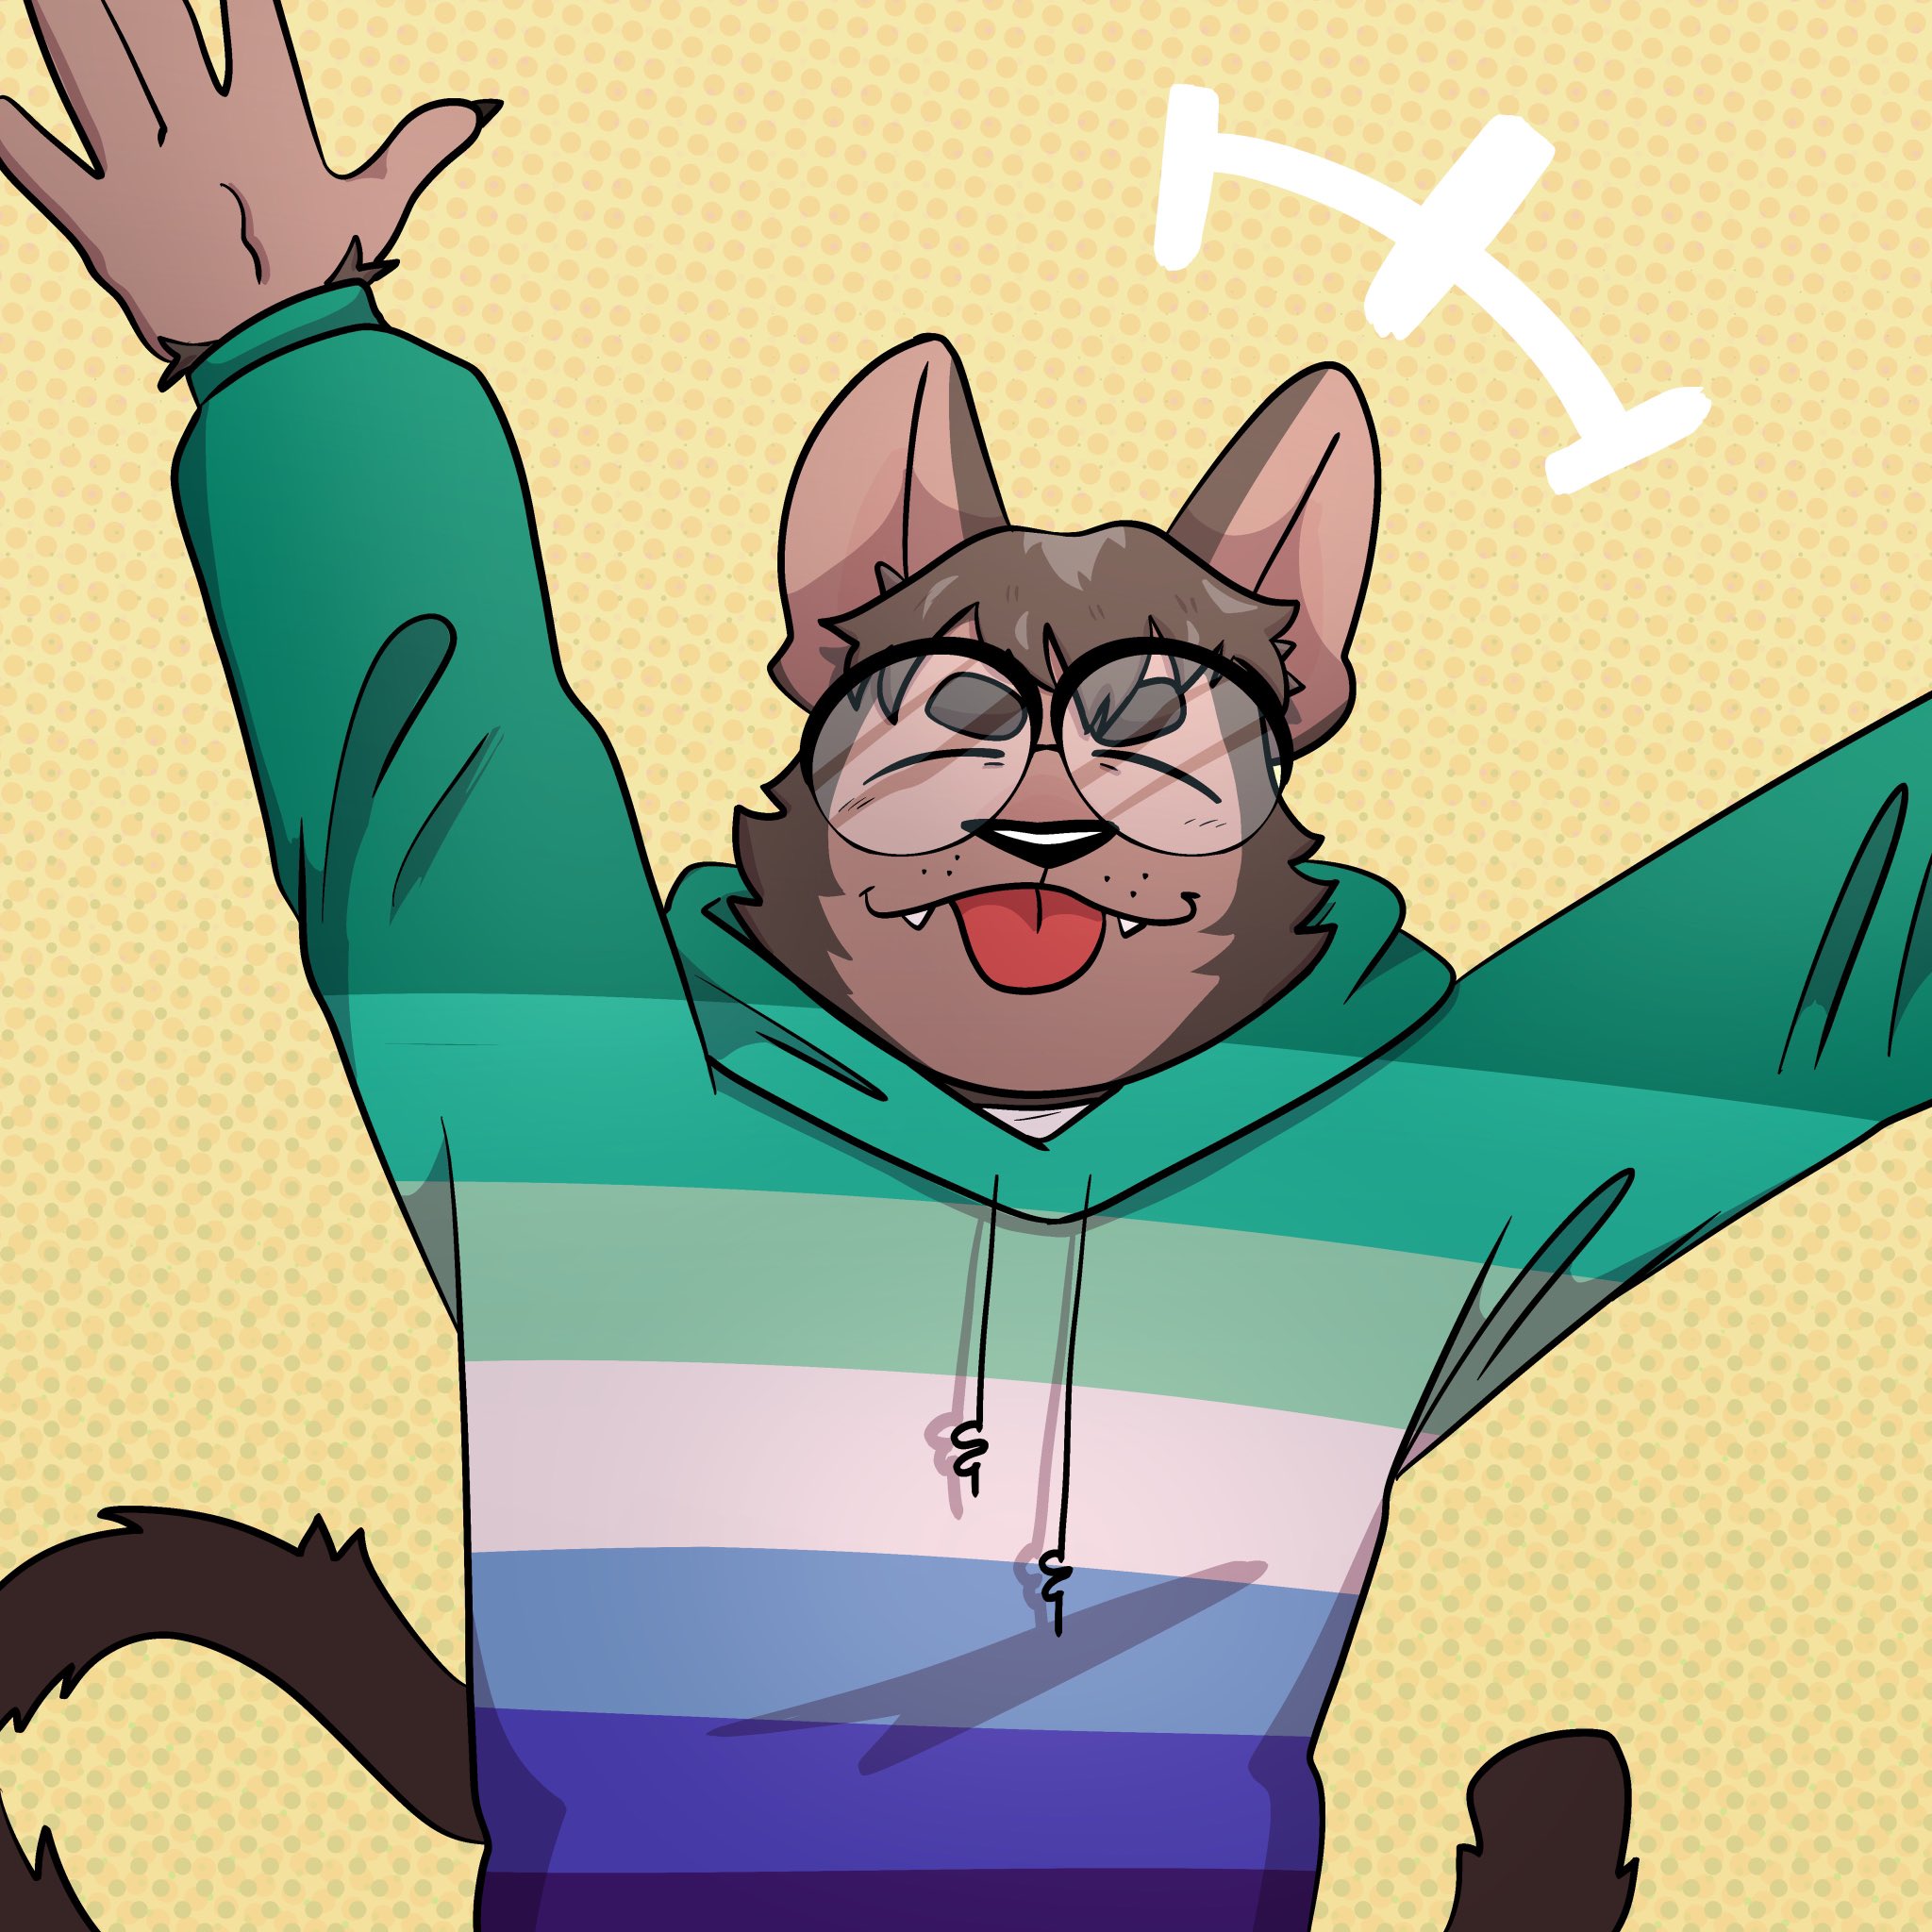
Castor in
Housepets
style!
Art by
Anacarolinafan.
Art by Zack on Twitter.